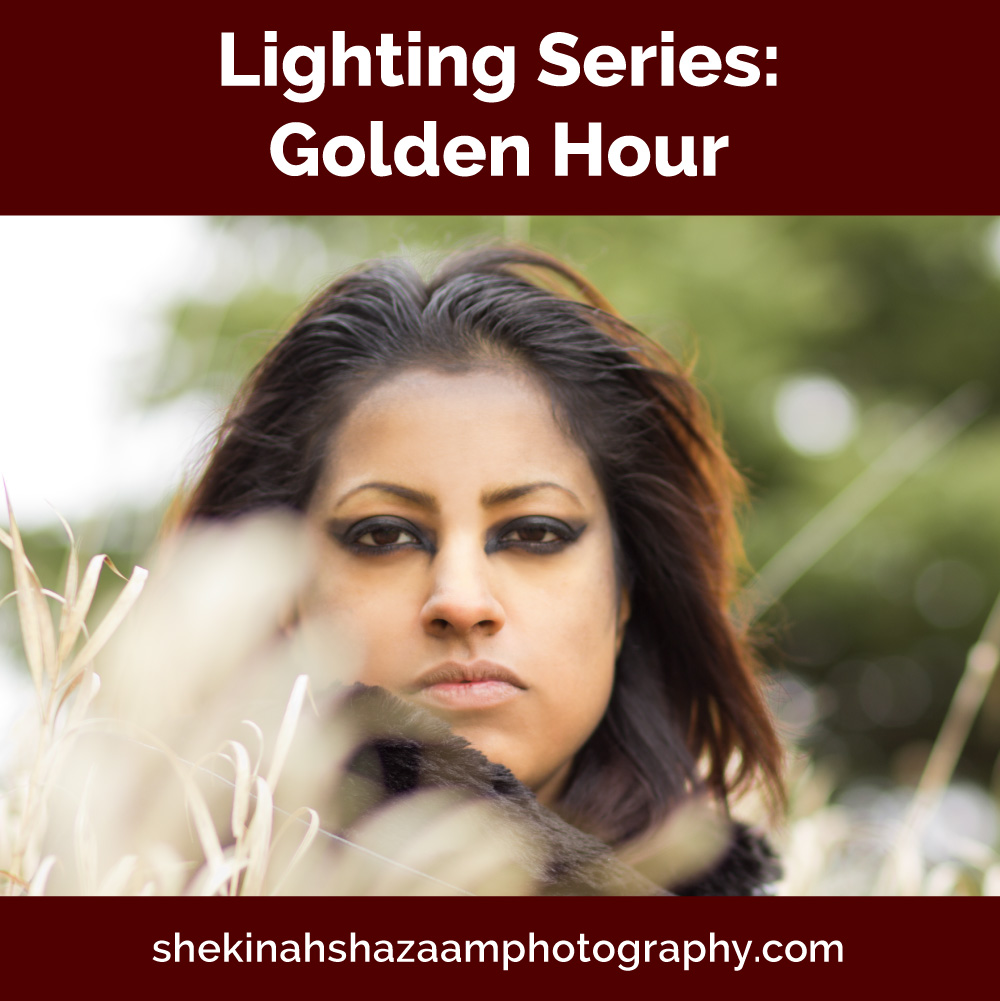
Even if you’ve just picked up a camera, chances are you’ve heard of the infamous “golden hour.” Also referred to as “magic hour,” this time occurs right before sunset/after sunrise and provides a very specific type of light. Many prefer the warmth & glow this light creates for their portraits and will recommend it to others. Not typically my choice because of the limited time window and recognizable warmth, I do on occasion shoot during this time. Here are some tips & examples below.
Scout beforehand
If you have a location in mind, go there before the shoot during the time you chose. You’ll be able to pick specific areas you want to place your subject, and see how the light will really look. Sometimes this timeframe is too dark for the look you’re going for, or will wind up being too yellow for your preferences. Checking ahead of time can ensure you have a backup plan if this location doesn’t work.
Show up early
If you’re really an early bird, you’ll have to take your subject to your location at or just before sunrise. Depending on how many shots you plan on doing, an hour may be just enough (or not enough) time to shoot with. If you prefer the sunset timeframe, you’ll have to be aware that the light you’re using will fade as the sun goes down and will have to work efficiently.
Try different angles
It is instinctual to have your subject face the light, but don’t be afraid to go against that. Try side & back lighting. You can experiment with lens flare & silhouette, which may yield better results than just frontal light.

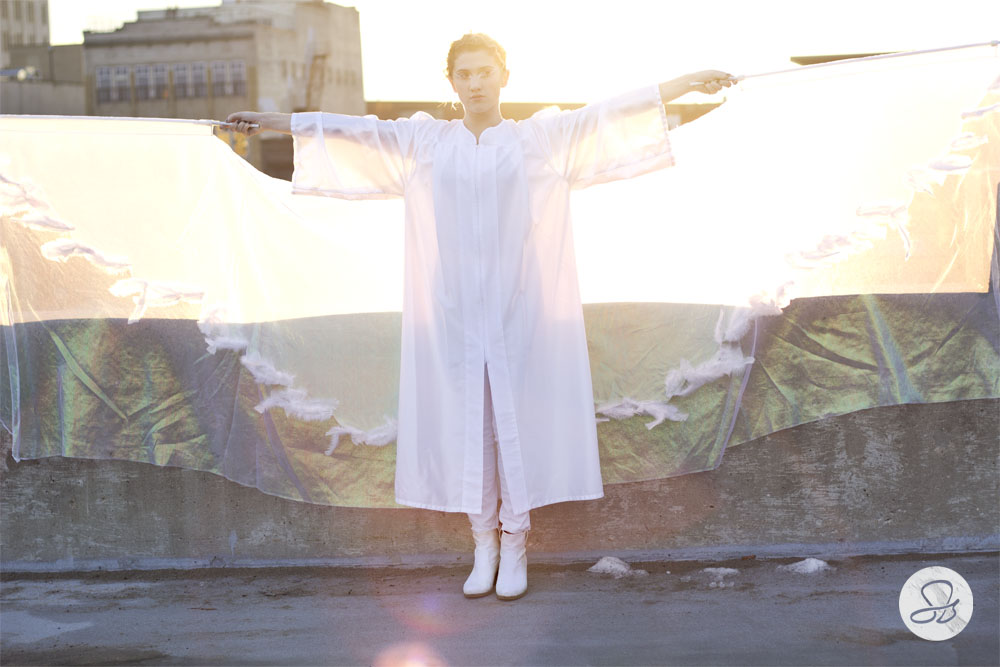
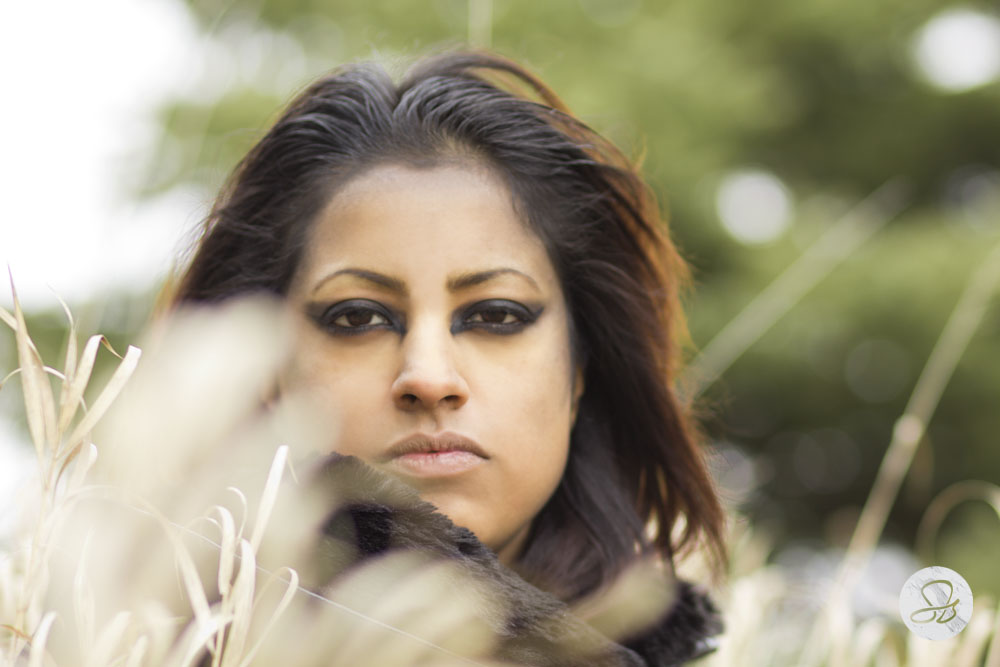
As I mentioned earlier, this isn’t my favorite light to shoot in, but I have had success with it (just like the many who swear by it.) Try it out if you haven’t already!
May the light be with you.





Sorry, the comment form is closed at this time.