Creating a photography packet probably isn’t the first thing on your mind, but it has definite benefits. It contains your updated prices It can have contact info, hours of operation, etc. It features samples & descriptions It’s convenient to send through email It’s handy to have printed out to give to potential clients for in-person meetings Some may still prefer only sending links to clients, which works fine, but there are differences to consider. Sending a general portfolio link could lead them all over your site and prevent them from finding the info they’re seeking right away. Sending them a link to a page with a breakdown of prices and samples is a better option. Ever paranoid, I like to have another way for them to receive info. So along with some things written in the email itself, I suggest providing a link as well as attaching a packet that they’ll be able to download and access even without an internet connection. So now that you know why it’s a good idea to have a packet, let’s discuss how to create one. I am coming from a design background so if you are not, […]
Read More
I’ve written about travel photography, street photography, & lifestyle photography, but this post will be a little different. I’m still going to use the tips mentioned in those posts, but I wanted to have a specific assignment or prompt that my images had to address. For this go-round, I decided to pick my favorite color: red. Any & everything with that color was fair game, so my goal was to capture a variety of images. I was fortunate to be on vacation so I had even more reason to get out and explore. This prompt really challenged me to delve deeper into what I saw and find interesting shots vs typical touristy shots. Here are my favorite photos. A prompt can be anything you want–like people walking dogs, or sports cars—so really it’s up to you on how focused or generalized you want it to be. I hope you also try and give yourself an assignment challenge, whether on a trip or even in your own town. May the light be with you. Follow
Read More
So one thing I’ve learned over the past years of traveling is that I often don’t use (or need) as much as I think I do. When I first began traveling I would always bring 3 lenses with my t3i: my wide 10-18mm my medium 18-55mm & my long 55-250mm. This allowed me to cover a vast area and there were no duplicates among the choices. But after a while with my upgrades to prime lenses and eventually upgrade in camera body, I found that I didn’t really need to bring a bunch of variety. Unless I was specifically out with the mission to shoot (like a lot of my NY trip was) I typically was fine with just one lens. That one was usually the 40mm or 50mm, because of their normal field of view. Though I enjoyed their small size & convenience, I did find it limiting at times when I couldn’t adjust myself to allow for more or less of the scene. So finally, after about 8 months of using primes only, I finally acquired a zoom lens to use on my 5dmarkIV! I was looking at older models to save a little bit, […]
Read More
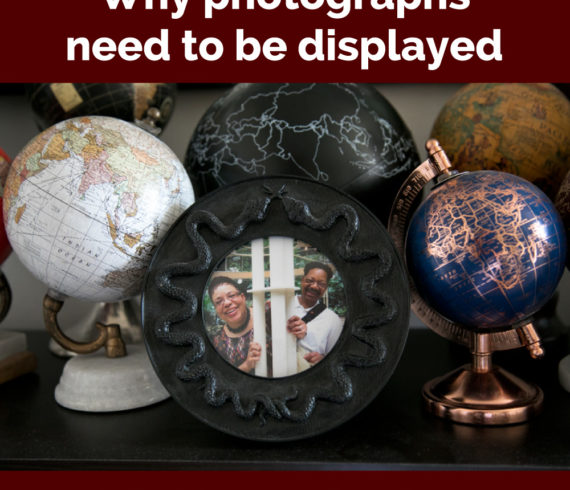
I’ve written on print vs digital (both have pros and cons) but for this post I want to share why it’s still important to have physical printed copies of your images. Call me a traditionalist, but until humans evolve past the confines of corporeal form, they will still dwell in physical buildings with walls & tables just screaming to have art on them. Some of that art should be the photos you’ve made. Here’s why: Personalization Whether your work is hung all over the house or just in your room, whenever people see it they will know you live there. Our work reveals a great deal about ourselves as artists. Not only does it show our aesthetic, but it also reveals unspoken bits of our personality as well. Recollection Through the hustle & bustle of life and stresses of adulthood, sometimes we can lose sight of why we chose to pursue this path. We may get in a rut or question our worth as photographers. When your pieces are displayed, you pass by them every day. You can’t help but look at the work you’ve done and remember how exciting that session was. The joy the client […]
Read More
Going through the archives again, I found this lighted wonder. It’s so cool to see how light can be captured & reflected on various surfaces. May the light be with you. Follow
Read More
I was using thrifted/hand-me-down tripods since the beginning of my photographic adventures. I really didn’t have a problem with them until finally during some filming last year the middle tightening mechanism broke and almost had my camera tumbling to the ground. I realized then that these cheap things weren’t a good way to protect my investment, so I asked for a much higher quality tripod for Christmas. My brother & sister-in-law ordered exactly what I requested and I was so excited to start using it. I’ve had about 3 solid months of working with it, so here are my thoughts. PROS -Well made -Sturdy -Versatile CONS -Heavy -Bulky -Has specialized quick release plate Upon opening the box, I knew this was a quality piece of work. Everything was solidly put together, no wiggling handles or unstable joints. The legs are pretty stiff and you have to pull with a decent amount of force to get all three open. The legs are also covered with a thick foam so it makes gripping them even easier. There’s the additional option of using the middle column as a way to get flat-lays or close up macro shots as well. […]
Read More
The tips revealed in my 1 point lighting setup can be used with two lights as well! Key Light & Fill Light I’ve set up my key on one side, slightly in front of the subject with the fill on the other side. See how this provides balance and softens up some of those harsh shadows? Key light & Background light Leave the key light in the same place, and move the second behind your subject, pointing towards their background. There’s a bunch of different effects photographers apply such as gels for different colors or cutout stencils for cool shapes. Key light & hair light Keep the key where it is and simply tilt your second light so it skims the top of your subject’s head. Hair light is continuously used to help separate the subject from their background. This is especially helpful if their hair color is similar to the wall/environment. The methods above are all very common so you’ve probably seen images lit these ways before. Hopefully they still can guide you as you try your hands at a 2 point setup! May the light be with you. […]
Read More
Before you begin experimenting with different color temperatures, you need to determine what you want to communicate. Romantic or feminine feelings are typically associated with very warm images whereas edgy and Avant-garde photos are usually on the cooler side. There are many ways you can alter the overall color in a scene. In the scene You decide what the backdrop is & what the subject wears which could wind up contrasting or complementing. You could pick a monochromatic scene with only 1 color feature like I did here: Light Modifiers A popular option a lot of photographers use are colored gels. These thin cellophane-like sheets can clip over their lighting set up and provide varying results with relative ease. I haven’t personally experimented with gels, but I know they provide some interesting results. Camera White balance In your menu there are options for auto, daylight, shade, etc. You can also do a custom WB by taking a picture of a plain sheet of paper and using that as a reference for the scene. Most recommend trying to get accurate white balance, especially if you are trying to show true color rendition. However, if you know you […]
Read More
There’s a big misconception about artists. The thought is that we’re an antisocial bunch clamoring over the competition just to make the next buck. While that may be true of some people, it isn’t the case for us all. Even introverts like me enjoy working with others who are inspiring and offer a positive experience. Whether they are friends, acquaintances, or even strangers, collaborating on various projects has many benefits. When I say “collaborating” I mean all parties put forth their skills to achieve an end result. If you want to know the positives of just being around other artists, read this post. Experience Much like volunteering or an internship, collaborating allows you to work with other types of people in this very social field. If you’re aiming for the more commercial/editorial side, you’ll get to see makeup artists, hair stylists, & models. If your niche is more environmental, you’ll meet realtors, architects, and interior designers. Even landscape photographers can get the chance to meet interesting people who may own that land or fellow travelers. Networking You shouldn’t go into this only trying to take what you can from people. They will be turned off by […]
Read More
For this month’s challenge, I went through my archives of more interesting geometric shapes. This was captured on the top floor of the Royal Ontario Museum (which is just an architectural gem overall!) May the light be with you. Follow
Read More